Today, we will learn about how to install IBM WebSphere Application Server Network Deployment on windows.
Pre-Requisite:
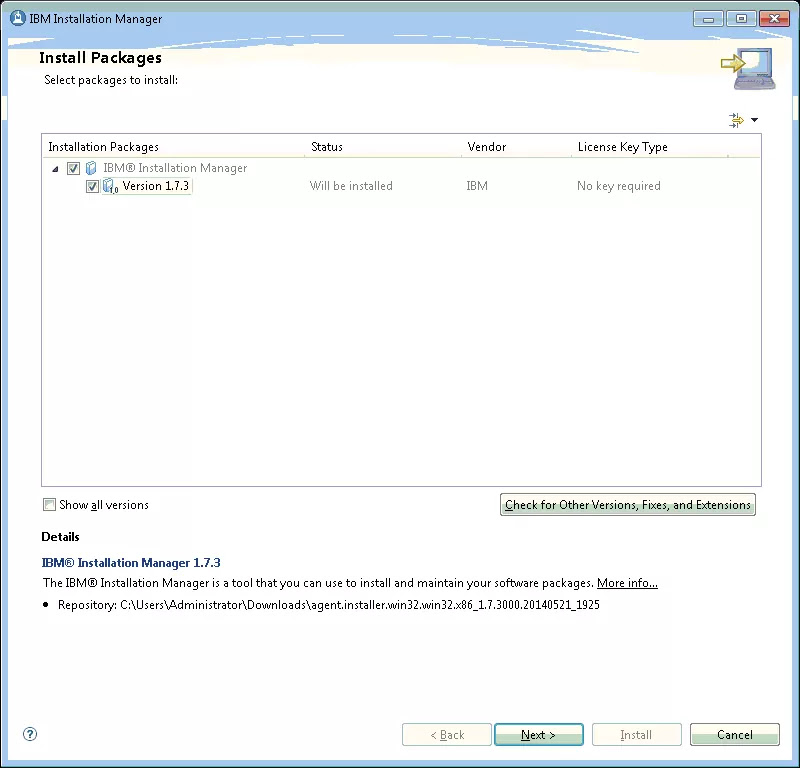
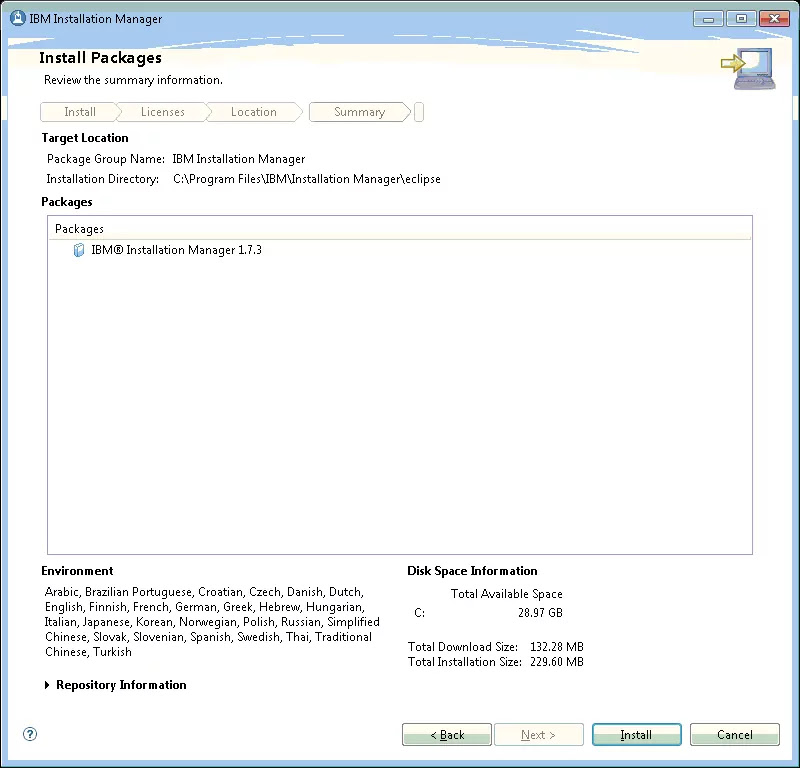
- First, you should have IBM Installation Manager installed. You can see my previous post on how to install IBM Installation Manager.
- Secondly, according to your operating system, the WAS ND version 8.5.5.0 installer of IBM WebSphere Application Server is required. You can download this installer from the IBM website.
Below are the steps to install IBM WebSphere Application Server Network Deployment Version 8.5.5.0 on windows.
Procedure:
-
Now that you have downloaded the installer file (i.e., zip file). Extract this file to any location of your choice. In my case, I have extracted it on desktop, namely C:\Users\Administrator\Desktop\Installation_Software\WASND_v8.5.5. Now open this folder and you will see the repository.config file. See the figure below.

-
Open IBM Installation Manager from the start menu and click on the File from upper left menu and then preferences.

-
Click on the add repository button from the right side of the new popup window and browse for a path to the repository.config file, select it, and then press OK two times to set the location.

-
After setting the path, click the Install icon from IBM Installation Manager.
-
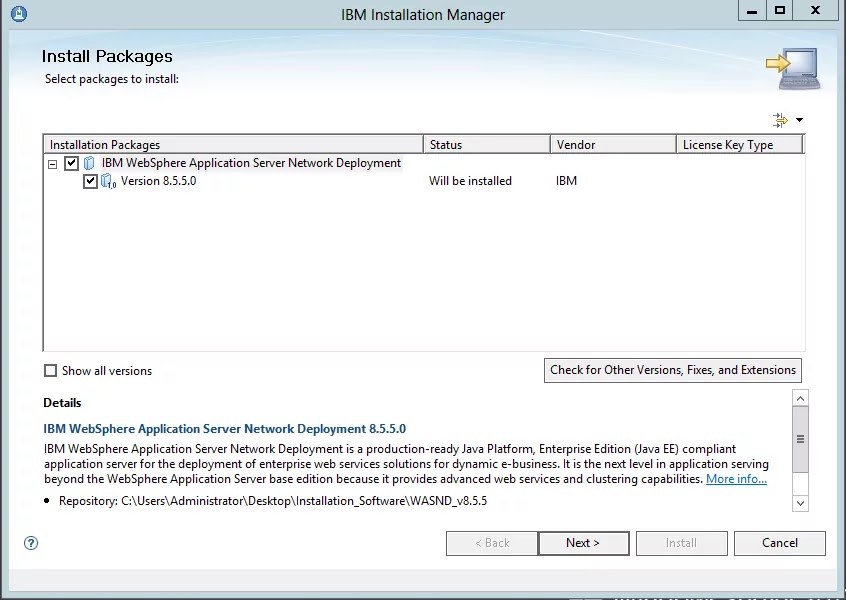
Select the installation package and WAS version 8.5.5.0 and click on Next.
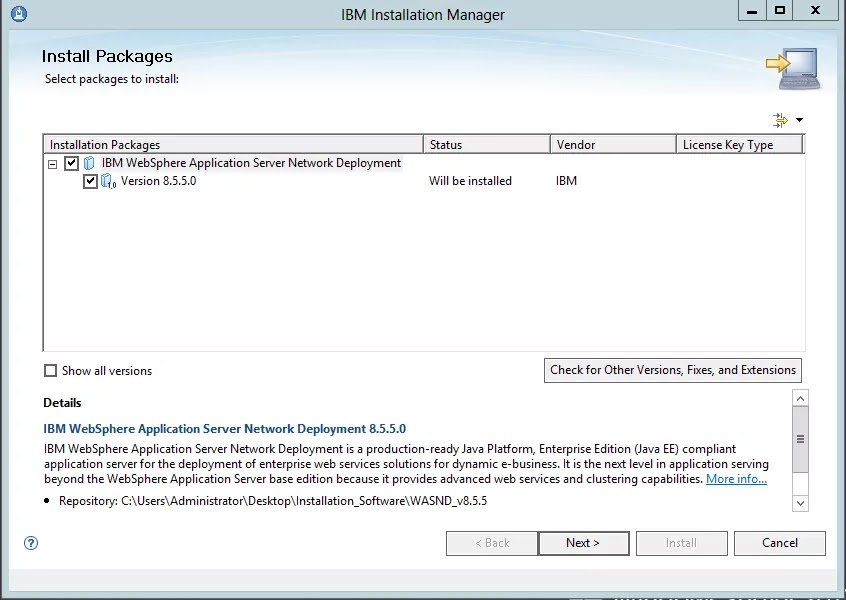
- From the next window, accept the license agreement and click on Next.
- Select the shared resource directory and then click Next. A screen will appear to show package group name and available space details so leave as it is and click on Next.
- Select the language and then click Next.
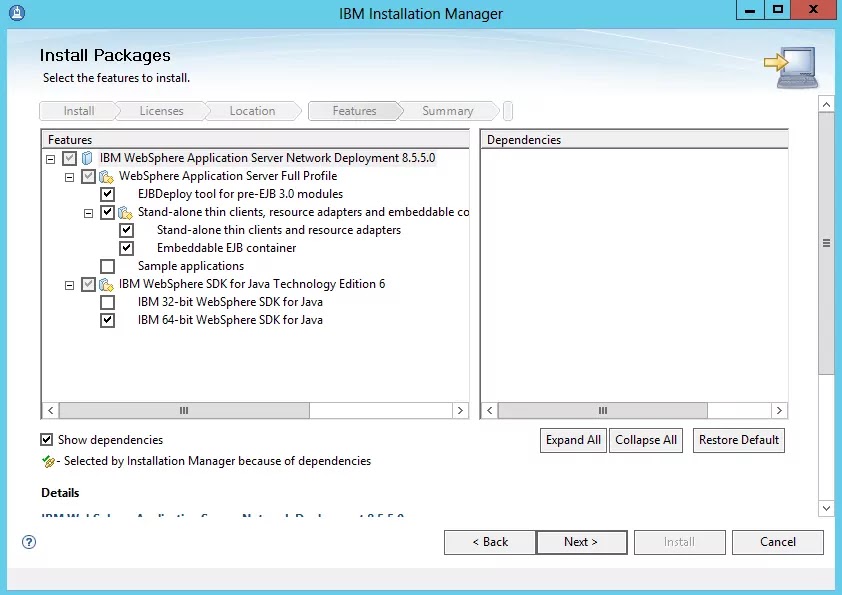
- Select the appropriate Java SDK details from this window and click Next.
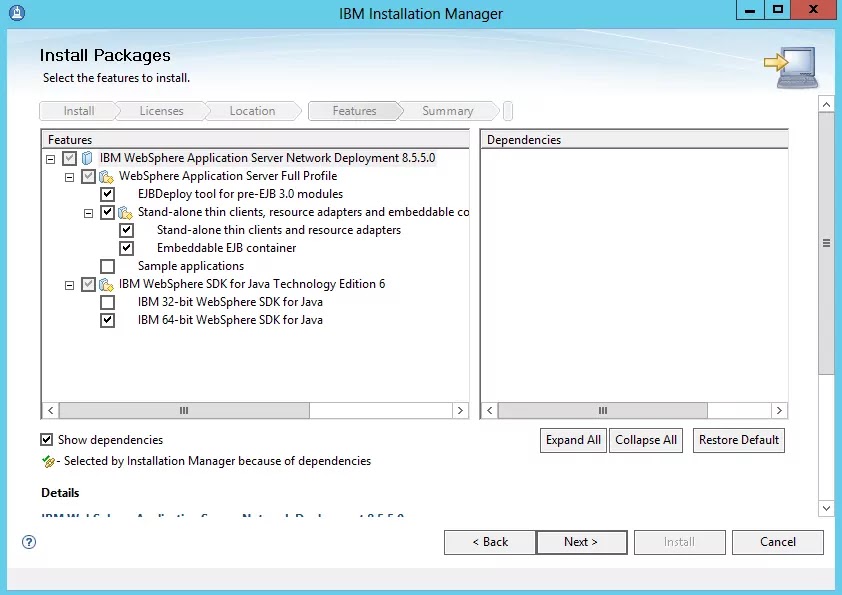
- Click on the Install button and wait for a complete installation. When installation finished select on “None” radio button from the right side and then the Finish button.